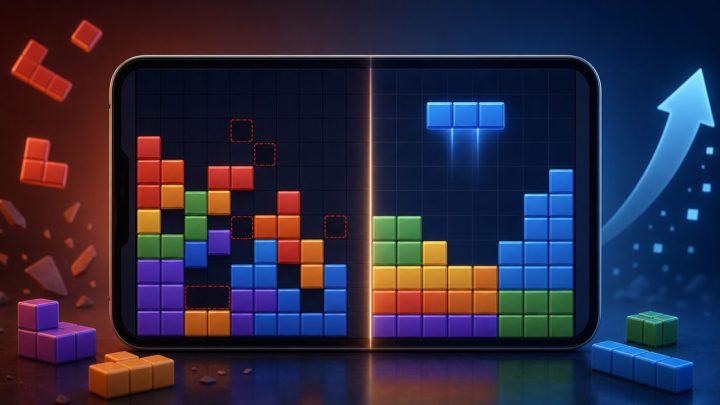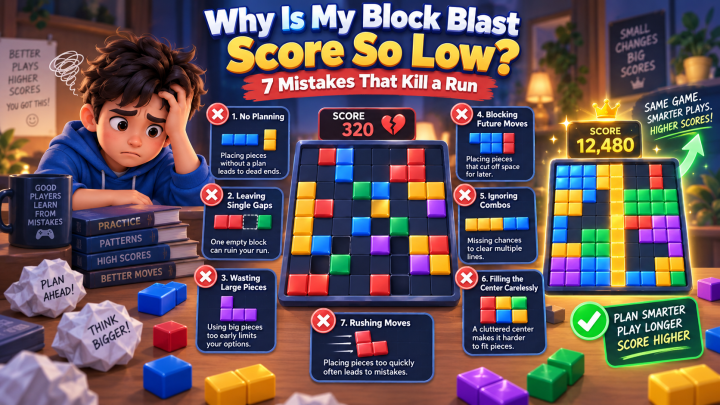
If you keep ending Block Blast runs around 10,000 points, the score is usually not the real issue. The run ends because the board gets too cramped for the pieces you’re given. Once open space breaks into awkward pockets and narrow lanes, one bad draw can end the game.
That’s why 10,000 feels like a wall. It’s usually a board-management problem, not a score problem. The players who push past it aren’t forcing bigger clears every turn. They’re keeping the board flexible enough to survive random pieces, especially once the midgame starts filling up fast.
Why the 10,000-point wall happens
Block Blast doesn’t end at a score threshold. It ends when you can’t place a piece legally anywhere on the board. So 10,000 points is usually a common stopping point, not a hidden limit.
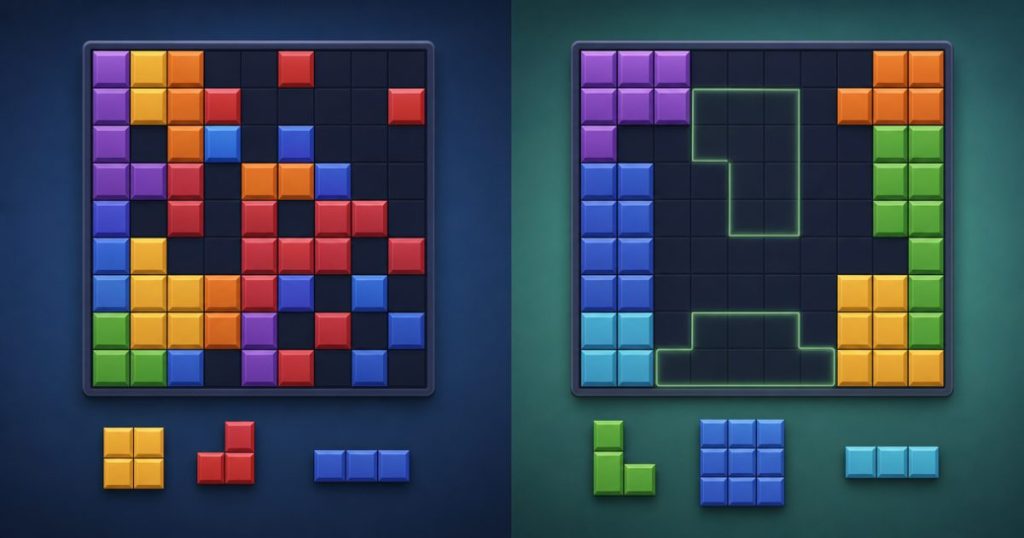
By that point, many boards have lost their shape. Empty space is still there, but it’s split into tiny gaps that only a few pieces can fit. That’s risky because the game gives you random shapes, and you can’t count on the next piece to rescue a cramped layout.
A nearly full board is much less forgiving than a board with a few clean open zones. One awkward roll can wipe out a cramped board, while a more open layout can absorb bad pieces and keep the run alive.
The board usually fails before the score does
The score is just the result of surviving. The real failure point is the board state: too many holes, too little flexibility, and not enough room for larger shapes.
Players often notice the loss around 10,000 points because that’s where the game starts demanding cleaner decisions. Early mistakes that seemed harmless suddenly matter. A small corner pocket, a blocked lane in the middle, or a center that gets filled too early can leave you with no workable move later.
The habits that create a 10,000-point ceiling
Most players don’t lose there because of one huge mistake. They lose because of several small choices that slowly damage the board.
- Filling the center too early. The middle of the board is often the most useful space for future shapes. If it gets clogged, recovery gets much harder.
- Creating isolated holes. A 1×1 or awkward 2×2 pocket can become useless later, depending on the pieces you receive.
- Chasing immediate clears every turn. Clearing a line feels good, but a clear that ruins your board shape can be worse than leaving things a little messy.
- Breaking the board into fragments. Several small open areas are less useful than one or two larger zones that can accept different shapes.
These habits matter because Block Blast is as much about flexibility as it is about scoring. The more shape options you keep alive, the longer you can survive random piece generation.
How to play safer when the pieces get awkward
When you get a strange piece, the best move is not always the one that scores right now. The better question is whether the placement keeps future options open.

A simple rule helps: if two placements both work, choose the one that preserves the largest clean area on the board. That usually means protecting a wide lane, avoiding isolated pockets, and keeping at least one section open enough for larger shapes.
If the board is already tight, prioritize survival over style. A safer move that delays a line clear can be the better play if it keeps the board from splitting into unusable fragments.
Long, flat placements are often safer than moves that create pockets. A board with a few open lanes is stronger than a board with lots of tiny spaces, even if the second board has already picked up a few extra clears.
When a quick clear is worth it
Sometimes the immediate clear is the right choice, especially if it removes a bad shape from the board without creating a trap. The key is to look at the board after the clear, not just whether the clear is available.
If the clear opens space and leaves a clean edge or lane, it can be worth taking. If it clears a line but leaves behind a pocket that only one shape can fit, the better-looking score move may actually shorten your run.
A simple way to judge each placement
Before you drop a piece, check three things:
- Will this move leave me at least one large open area?
- Does it create a hole that will be hard to fill later?
- Does it keep the board flexible for different shapes, not just this turn?
If the answer to the first question is no, the placement is probably too risky. If the answer to the second question is yes, look for a cleaner option even if it scores less right now.
This is the easiest mindset shift for breaking past 10,000 points. Stop thinking only about the move in front of you. Start thinking about whether your board can survive the next three pieces, not just the next one.
Examples of bad and better board choices
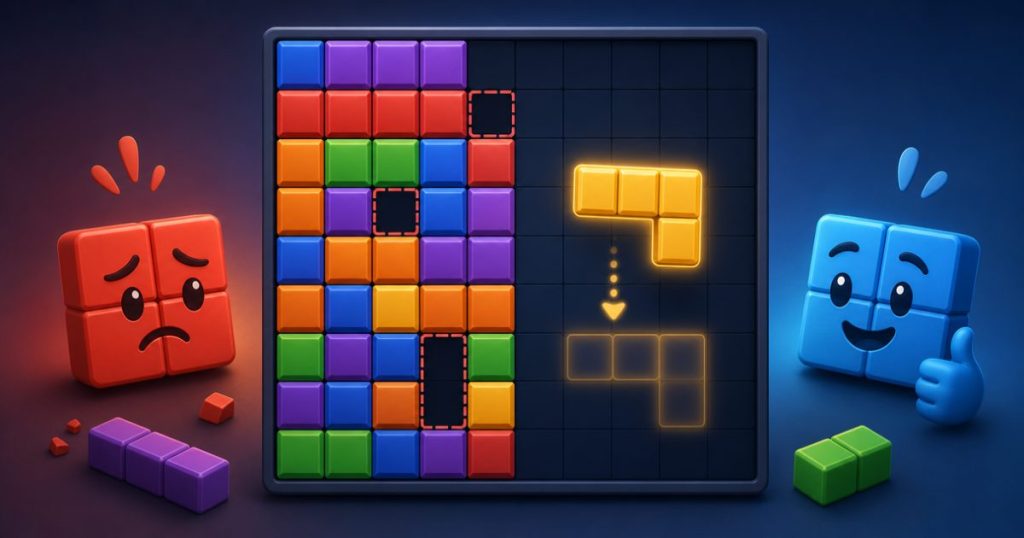
Imagine a board with a wide open top row and a mostly clean left side, but a center that’s starting to fill. You could place a piece in the middle and clear a line immediately, or you could place it along the edge and preserve the center space.
The immediate clear may feel stronger, but the safer edge placement often keeps more shapes playable. It avoids splitting the board into small fragments and gives you more answers when the next random piece appears.
Here’s another common failure pattern: a large piece becomes impossible to place because earlier moves carved the board into tiny pockets. The run didn’t end because the large piece was unfair. It ended because earlier placements removed the only spaces that could absorb it.
The better alternative is to leave at least one expandable zone on the board. That zone acts like insurance against bad rolls, which is exactly what you need in the midgame.
The simplest rule for surviving longer
If you want one rule to follow, use this: protect space first, score second.
That doesn’t mean ignoring line clears. It means valuing board shape more than the points from a single move. A cleaner, more flexible board usually scores better over the full run because it survives longer and keeps accepting pieces.
Randomness will still matter. Some runs end because the game gives you a brutal sequence of pieces. But if your board stays open and flexible, you give yourself a real chance to recover from bad draws instead of collapsing at the same score every time.
If you want to go deeper on board control, advanced space-management strategy covers the placement habits that help strong runs last longer.
Frequently Asked Questions
Is 10,000 points a real limit in Block Blast?
No. It’s usually just a common stopping point where board space gets tight and random pieces are harder to place.
Should I always choose the move that clears a line?
Not always. A line clear is only worth it if it leaves the board flexible. If it creates awkward gaps, a safer placement can be better.
What is the biggest mistake that causes runs to end around 10,000?
The most common problem is breaking the board into small, unusable pockets and leaving no large open area for future pieces.
How can I survive longer with random pieces?
Keep the board open and even, protect flexible space, and avoid moves that trap you into needing one exact shape.
Running into the 10,000-point wall usually means your board is getting too fragmented, not that Block Blast has a score cap. The runs that last longer keep at least one clean open area, avoid sealing tiny pockets, and treat each move as part of the next few turns, not just the current one.
If you want to break past that plateau more consistently, stop asking, “How do I clear this line?” and start asking, “Will this placement still let me fit awkward pieces later?” That one habit does more for survival than chasing one bigger clear on the next turn.