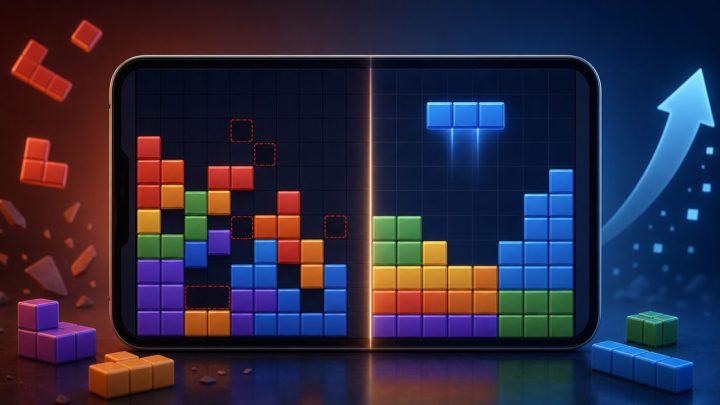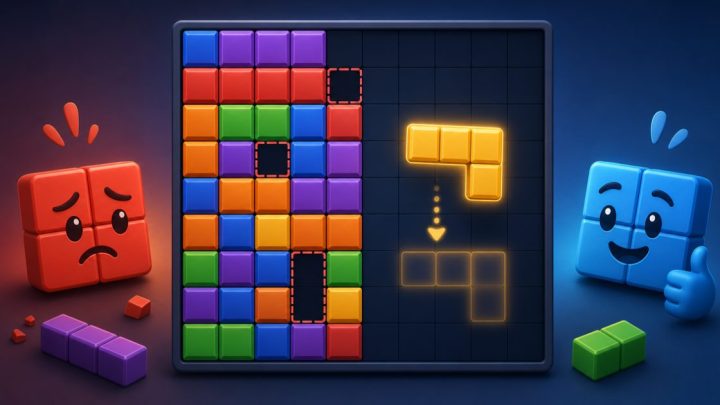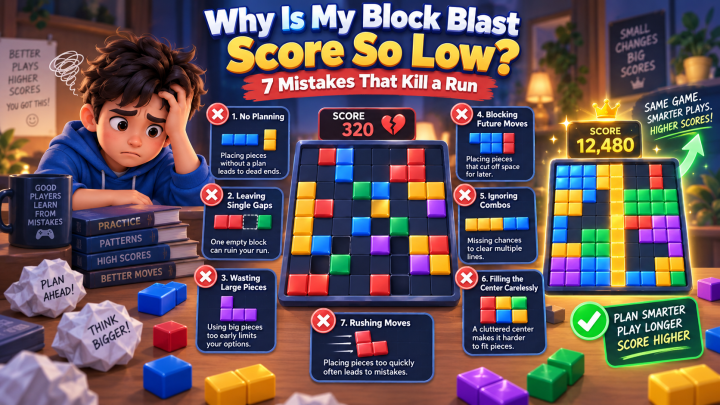
Two Block Blast Online runs can start from what looks like the same board and still end with very different scores. That happens because score depends less on how empty the board looks and more on what the board can still do next. The order of the pieces, the shape of the open space, and whether a move opens up future clears or blocks them all matter a lot.
The biggest difference is usually not survival by itself. It is whether the run stays flexible long enough to keep producing good clears. A board with the same number of open cells can be much stronger in one run than another if those cells are arranged well, if the next pieces fit cleanly, or if an early placement preserves a later combo path.
What actually makes one run score higher than another
If two Block Blast games look similar, the score gap usually comes from a few things working together:
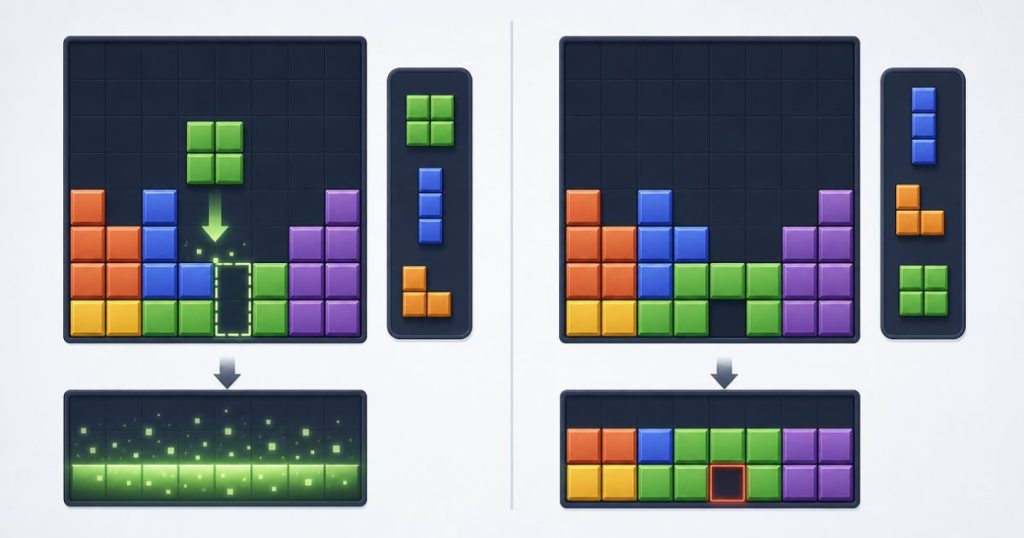
- Piece sequence: the next shapes change what is possible right now.
- Combo timing: one clear can set up another, while a different move breaks the chain.
- Board shape: open space matters, but its shape matters even more.
- Forced moves: once the board gets tight, you stop choosing the best move and start choosing the only move.
That is why a run can feel identical for several turns and then split apart quickly. The board after a few placements is not just a snapshot. It is the set of choices you will have later.
A useful way to judge two positions is simple: pick the one that preserves the most future placement options. If you are trying to figure out why your score keeps stalling, the answer is often in board habits rather than bad luck. A related guide on that pattern is why your Block Blast score stops improving.
How piece order changes the score on a similar board
Two boards can look nearly identical and still have very different scoring potential because the next pieces are different.
Imagine a board with a clean 3-wide lane on one side and a nearly complete row across the middle. If a long piece comes first, you may be able to finish that row right away and reopen the board. If a square or L-shaped piece comes first, it might fill the key lane in a way that blocks the long piece and turns the next turn into damage control instead of a scoring move.
That is why “the same pieces appeared” does not mean “the same opportunity appeared.” In block puzzle games, piece order changes the value of every board shape. A position that looks safe with one upcoming piece can be weak with another.
One early placement can also change the rest of the run in a way that is hard to notice at first. A move that seems harmless may use the exact cell you needed later, which forces a weaker placement on the following turn. Once that happens, the run often becomes reactive instead of planned.
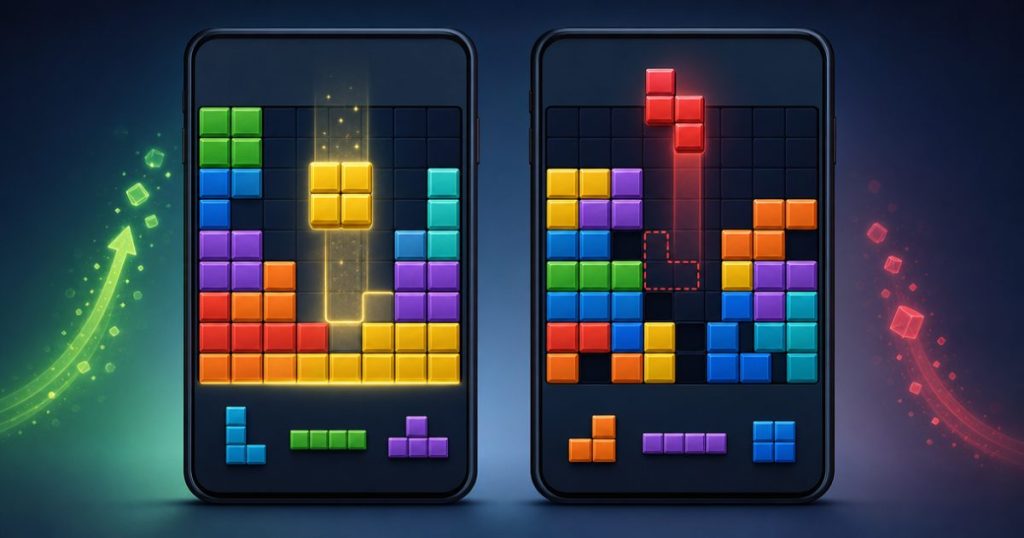
Two similar board positions, two different results
Here is the basic difference between the kind of position that keeps scoring and the kind that stalls:
- Stronger position: one large open area, clear lanes, and room to place awkward pieces without damage.
- Weaker position: the same empty-cell count, but spread across scattered gaps, corners, and awkward holes.
Those boards may look close at a glance, but they are not equivalent. The first one keeps your options open. The second one is already one awkward placement away from losing momentum.
Why board shape matters more than empty cell count
Players often count empty squares and assume the board with more space is better. That is too simple. In Block Blast, space efficiency depends on shape, not just quantity.
One large open area is usually more useful than several scattered gaps. A single connected zone gives you more ways to place odd shapes, plan around future clears, and recover after a bad piece. Scattered holes can look roomy, but they trap medium and large pieces quickly.
This is why two runs can have roughly the same number of empty cells and still play very differently. One board still allows several good lines of play. The other is already close to a dead end.
Empty corners and isolated single gaps are especially dangerous. They are not just small spaces. They are space that is becoming hard to use. Once the board breaks into awkward fragments, score potential drops because your options shrink before the board is technically full.
The comparison rule to use during play
When you are choosing between two placements, ask: Which move preserves the most future options?
That question is more useful than asking which move clears more right now. A move that clears one line today but destroys your best open zone can cost more later than it gives back immediately.
A move that keeps a large clean area, even without a clear, can be the better scoring choice if it makes a later double clear possible or prevents a forced awkward placement. Sometimes the safer move lowers score now but improves the final total later.
When a safer move is smarter than a bigger clear
It is tempting to chase every immediate line clear. That works sometimes, but not always. In many runs, the best scoring move is the one that protects the board shape you need for the next few pieces.
Here is the tradeoff:
- Immediate clear: good when it opens a useful lane or starts a combo.
- Setup move: good when it preserves a strong open area or delays clutter.
- Greedy clear: risky when it creates isolated gaps or blocks a future high-value placement.
The common mistake is overvaluing a single clear and undervaluing the setup for a larger clear later. If a move clears one row but leaves behind a split board with awkward holes, the short-term gain can reduce the long-term score.
This is where chain reactions matter. Consecutive clears usually help score growth because they keep the board open and create more usable turns in a row. A clean setup that leads to another clear is often worth more than a one-time clear that leaves the board cluttered.
For players who struggle with this tradeoff, the same lesson shows up in piece-specific survival problems too, especially with awkward large shapes. The Block Blast 3×3 problem is a good example of how one bad gap shape can cut off an otherwise strong run.
How one awkward placement can force a lower-score run
A score gap often starts with one move that looks small at the time. You place a piece in a spot that seems fine, but it changes the board from flexible to constrained.
That kind of placement can do several things at once:
- block a clean lane you were building
- create a gap that is awkward for common pieces
- remove the chance for a later multi-line clear
- force a future move that does not help the board much
Once a forced move appears, the run usually loses score in two ways. First, you stop setting up high-value clears. Second, you spend turns just trying to avoid collapse. The board is still alive, but it is no longer producing the same quality of moves.
That is why two games can feel almost identical for the first part of the run and still finish far apart. One player preserved a usable shape. The other spent one key space pattern too early.
What a low-score board state looks like before the run collapses
The warning signs usually show up before the board is actually full:
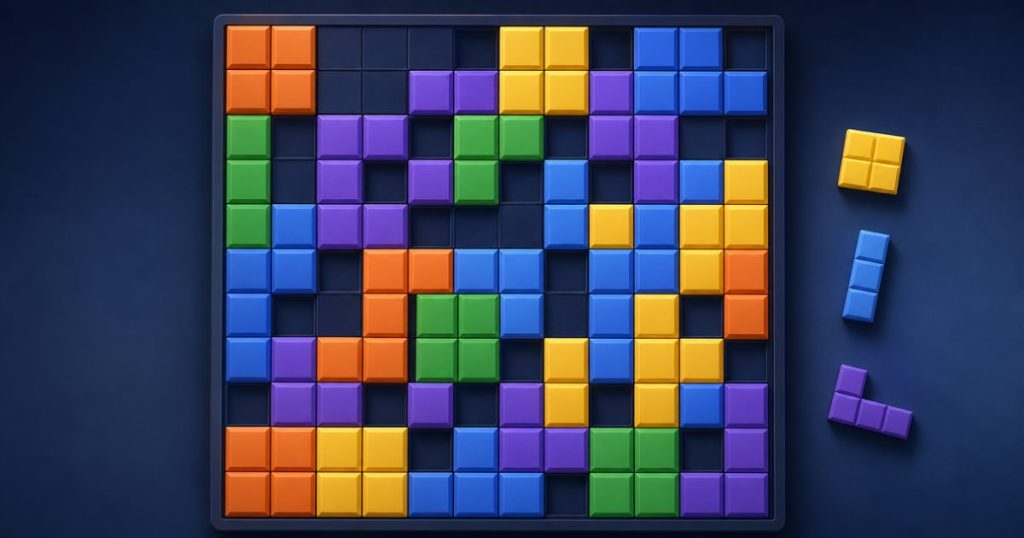
- several small gaps instead of one useful open zone
- placements that are made only to stay alive
- mostly single clears instead of repeated clears
- moves that start to feel forced
- awkward spaces that keep getting saved for later, but never become useful
Once those signs appear, the run is usually entering a lower-value phase. The goal should shift from forcing a flashy clear to restoring flexibility. If you can reopen a large usable area, you may still rescue the score.
If you cannot, the run will usually finish with a lower total even if it lasts a little longer. A damaged board can sometimes be stabilized, but only if you prioritize shape and flexibility instead of chasing the next small clear.
Surviving longer and scoring higher are not always the same
Longer survival often helps, but not every survival move improves score. Sometimes the move that keeps the run alive also lowers the scoring ceiling.
For example, you may be able to dodge a bad piece by filling a safe corner. That can extend the run, but it can also create a pocket that is hard to use later. If that pocket breaks your best lane, the extra turns may come at the cost of fewer high-value clears.
This is where good players separate survival from scoring. They do not just ask, “Can I stay alive?” They ask, “Can I stay alive without damaging my best future board shape?”
That distinction matters because the highest scores usually come from runs that stay flexible long enough to keep generating good clears, not from runs that simply survive in a cramped state.
What players can control and what stays random
You cannot control every score difference. Piece order is random, and some runs will simply be friendlier than others. A difficult sequence can make a strong player look worse than usual.
What you can control is how much damage each awkward sequence causes. Better board management reduces score variance because it gives you more ways to absorb bad pieces without losing all of your options.
Think of it like this:
- Mostly random: which pieces appear and when they appear
- Mostly controllable: where you place them, which spaces you preserve, and whether you create future flexibility
A good run is not one where every piece is convenient. It is one where inconvenient pieces are less likely to ruin the board.
How to tell when a run is slipping into a low-score state
There are a few warning signs that your score potential is dropping, even if the board still looks playable:
- you have several small gaps instead of one useful open zone
- you are placing pieces to survive instead of to set up the next move
- most clears are single clears instead of repeated or chain clears
- a few placements have started to feel forced
- you keep saving awkward spaces for later, but later never becomes better
Once those signs appear, the run is usually entering a lower-value phase. At that point, the goal should be to restore flexibility rather than force one flashy clear. If you can reopen a large usable area, the score can still recover.
If you cannot, the run will usually end with a lower total even if it lasts a bit longer. That is why board recovery matters. A damaged board can sometimes be stabilized, but only if you give priority to shape instead of the next easy clear.
The practical rule that explains most score gaps
If two Block Blast games start similarly but end very differently, the winning run is usually the one that kept the board flexible for the longest time.
The best rule is simple: choose the move that preserves the most future placement options. Use immediate clears when they help future space. Avoid them when they break the board into awkward pieces. Compare open areas by shape, not just by size. And when possible, protect one large usable zone rather than scattering space across the board.
That habit does not remove randomness, but it does reduce score swings. The result is a more consistent run pattern, fewer forced mistakes, and a better chance of turning a good opening into a high-scoring finish.
Frequently Asked Questions
If two Block Blast boards look almost the same, why can the scores still be so different?
Because score depends on future options, not just current emptiness. Piece order, gap shape, and whether your last move preserved a strong open area can change the rest of the run.
Is it better to clear a line immediately or save the board for a bigger clear later?
It depends on whether the immediate clear improves the board shape. Clear now if it opens useful space or sets up a combo. Delay if clearing now would create awkward gaps or block future placements.
How can I tell when a run is turning into a low-score game?
Watch for scattered gaps, forced placements, and mostly single clears. Those are signs that the board is losing flexibility and that score potential is dropping.
Two runs can look similar because the empty cells look similar. The real difference is whether those cells still leave room to keep playing well. Piece order, gap shape, and combo timing matter more than the board’s surface appearance.
If you want more consistent scores, stop asking only whether a move clears lines. Ask whether it keeps a large, usable space alive for the next few turns. That single habit explains a lot of the score gaps between otherwise similar Block Blast games.