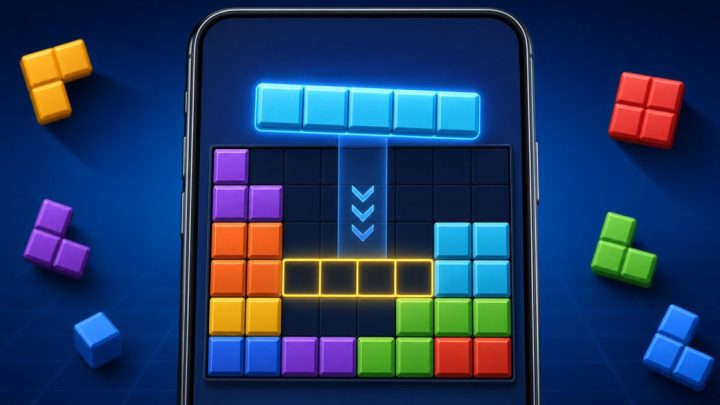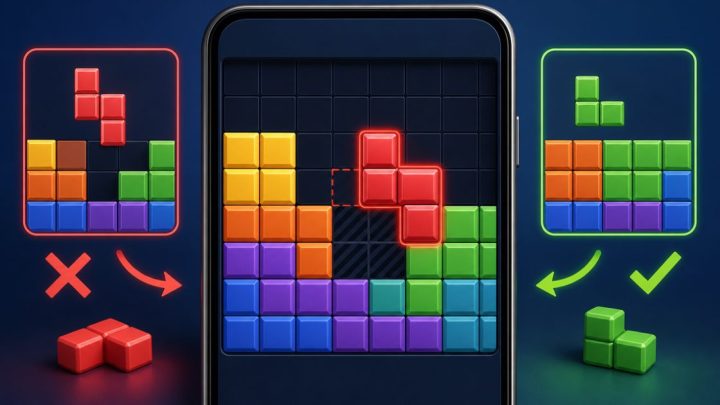
The quickest way to lose a strong Block Blast run isn’t usually a bad clear. It’s reaching the point where a 3×3 block has nowhere to go. Once the board breaks into small pockets, thin channels, and awkward leftover shapes, large pieces stop being useful and the run can end fast.
The fix is simple in theory, but it takes discipline: protect at least one open 3×3 zone, or keep the board shaped so a 3×3 area can still be created with one or two moves. That means thinking about space, not just lines cleared.
What the 3×3 problem actually is
The 3×3 problem happens when your board no longer has a clean 3-by-3 landing area for a large block. Smaller pieces can sometimes squeeze into awkward spaces, but a 3×3 piece needs a solid square of room. If the board is full of holes, narrow gaps, and broken edges, the game can give you a piece you simply cannot place.
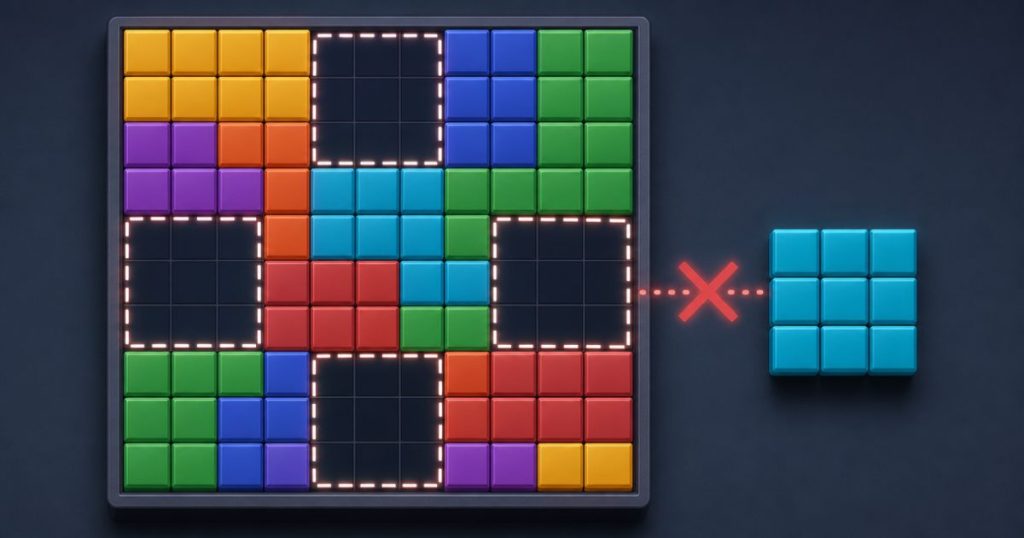
That’s why the 3×3 piece is so dangerous. It exposes weak board management. A run can feel fine right up until the board becomes too fragmented, and then one large piece ends it immediately.
What a trapped board usually looks like
Right before you get stuck, the board often shows the same warning signs: single-cell holes, thin one-block-wide channels, corners that are partly sealed off, and several small islands of space instead of one useful open area. On the surface, it may look like you still have room. In practice, that room is badly shaped.
If you want a quick rule, remember this: open rectangles matter more than scattered empty cells. A board with fewer but cleaner shapes is far safer than one with lots of tiny leftovers.
The board shapes that lead to a trap
The most common mistake is overfilling the center. When the middle of the board gets chopped into uneven bits, the game becomes much harder to manage. You may still be able to place small pieces, but you lose the large working space that keeps future options open.
Another common trap is breaking the board into isolated islands. This happens when placements leave separate pockets that don’t connect well to each other. A board split into islands may look open, but large pieces need connected space, not scattered scraps.
Clearing lines too early can also backfire if the clear creates the wrong shape. A line clear is useful when it opens a strong rectangle or protects a future 3×3 area. It is harmful when it leaves behind awkward notches that are hard to rebuild.
Edges and corners matter here too. They can help you preserve the center, but they can also trap you if you stuff them with pieces that create dead zones. If you want a deeper look at that problem, this guide on corner strategy explains why corner play can help or hurt depending on the board state.
How to protect a future 3×3 zone
The main rule is to keep one large zone alive instead of chasing every possible clear. Think of the board as something you want to preserve, not just empty. A safe move often leaves the board slightly less efficient right now, but much easier to play later.
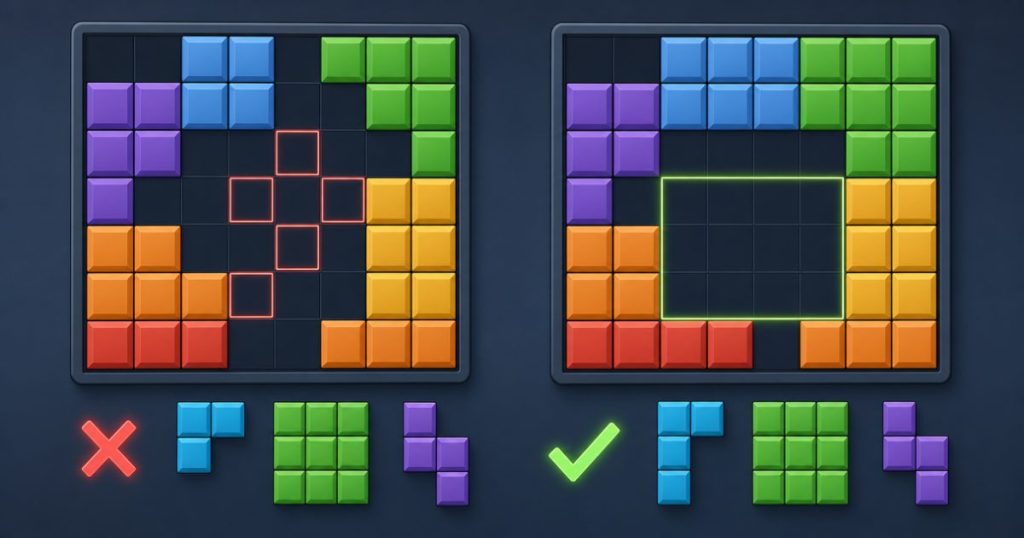
Use the edges and corners on purpose. If a piece can fit cleanly along a side without damaging your central space, that is often better than dropping it into the middle. The goal is to keep a rectangle-like region available for bigger blocks.
Smaller pieces can also be used to pre-shape the board. If you place them so they straighten a ragged edge or fill a problem gap cleanly, they may set up a future 3×3 landing zone. The best small move is not always the one that clears fastest. It is the one that keeps the board easy to build on.
Safe and unsafe placement habits
- Safer: place blocks so they keep one large open area intact.
- Safer: use small pieces to smooth jagged edges instead of scattering them.
- Riskier: split the board into multiple tiny pockets.
- Riskier: create single-cell holes that nothing important can use later.
- Riskier: chase a clear that breaks your only usable 3×3 region.
If you’re choosing between two moves, ask which one preserves the most useful shape, not which one clears the most space right now. That one question prevents a lot of late-run collapses.
How to play when the board is already crowded
Once the board gets tight, stop thinking about maximum points and start thinking about survival. The priority becomes clearing the most restrictive area first. If one side of the board is badly cramped while the other still has room, work on the cramped side before it turns into a dead zone.
When the available pieces are awkward, place the hardest one first if possible. If the game gives you multiple pieces at once, sequencing matters. Use the current board state to give the least flexible piece the best remaining space. Saving it for last often makes the problem worse.
Sometimes the correct move is to skip an immediate clear. That feels wrong because clears look productive, but if the clear ruins your only usable 3×3 space, the run is already in trouble. Survival play often beats efficient-looking play.
If your board has become nearly impossible, the goal is damage control. For a broader recovery approach, this guide on what to do when none of your Block Blast pieces seem to fit covers how to search for the least damaging placement when the board feels boxed in.
Early game, midgame, and late game: what changes
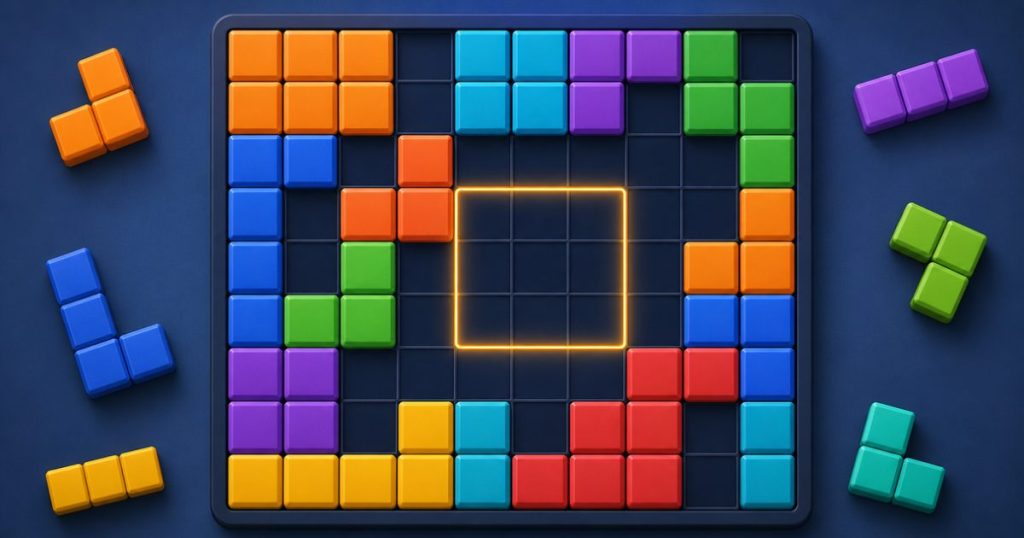
Early game: build a board that stays open. Avoid filling the center too quickly. Use easy placements to preserve a large rectangle and keep your corners from becoming messy.
Midgame: watch for fragmentation. This is where the 3×3 problem usually starts. If your board begins to split into uneven chunks, slow down and choose moves that restore shape, not just space.
Late game: protect every usable region. At this stage, even a small decision can decide whether a 3×3 piece still fits. Favor the placement that keeps the board connected, even if it doesn’t give the cleanest clear.
The big idea stays the same across every stage: a slightly less efficient board that still accepts large pieces is better than a cleaner-looking board that is one move away from collapse.
A quick mental check before you place a block
- Will this move preserve at least one large open zone?
- Does it create a single-cell hole or a thin channel?
- Am I splitting the board into separate islands?
- Will a 3×3 block still have somewhere to go after this move?
- Am I taking a short-term clear that may hurt future survival?
If the answer to the last question is yes, pause before placing. That pause is often the difference between a run that ends on the next awkward piece and one that keeps going for several more turns.
Frequently Asked Questions
Why does a 3×3 block end so many runs in Block Blast?
Because it needs a clean 3×3 space, and fragmented boards often leave only small, awkward gaps that cannot fit it.
Should I always clear a line as soon as I can?
No. A clear is only worth it if it improves the board shape or protects future large placements. Sometimes delaying a clear is the safer move.
What board shapes are the most dangerous for 3×3 pieces?
Boards with single-cell holes, thin channels, broken corners, and separated islands of space are the hardest for 3×3 blocks to use.
What should I do when my board already feels crowded?
Prioritize the tightest area first, place the most awkward piece while you still have options, and focus on preserving one usable open zone.
The safest way to beat the 3×3 problem is to treat board shape as the real scorekeeper. Keep one large open region alive, avoid fragmenting the grid, and use smaller pieces to protect future large placements instead of chasing every immediate clear.
When you start seeing holes, islands, and jagged edges, slow down and choose the move that keeps the board connected. That habit won’t save every run, but it will stop a lot of avoidable losses and make long survival much more consistent.