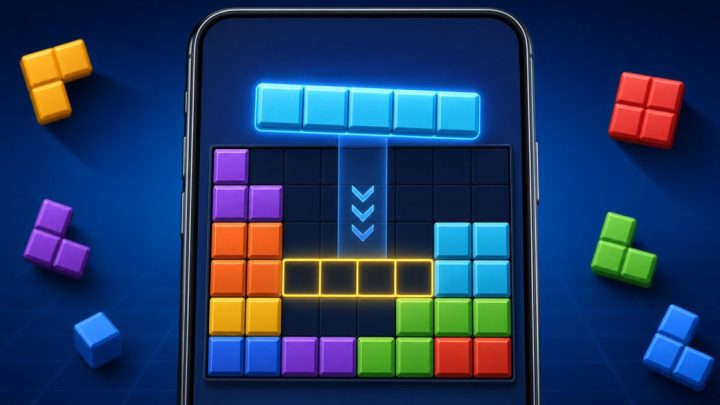
The move that kills a Block Blast Online run is usually not the obvious mistake. It’s the placement that looks tidy in the moment but cuts off your future options. If a move closes a useful lane, traps a pocket, or removes the only open space for a larger shape, it can turn a playable board into a dead one.
The quickest way to spot that danger is to stop thinking only about the current clear. Ask one simple question before you place a piece: does this move make the board easier to work with after the next piece, or harder? If it makes future placement harder, it’s usually the bad move.
What a run-killing move really looks like
In Block Blast, a bad move is rarely just the one that fails to clear enough. It’s the placement that leaves you with a worse board state than before. That can mean sealing off a corridor, leaving a single-cell hole with awkward edges, or splitting one open area into two cramped sections that no longer work together.
The trap is that the board can still look playable for a turn or two after the mistake. Then the next pieces arrive, and suddenly there’s nowhere clean to place them. That’s why run-killing moves are often delayed mistakes: they don’t end the game immediately, but they set up the end.
A useful rule is simple: don’t take a short-term gain if it costs you more board flexibility than it gives back. That tradeoff matters more than the immediate clear.
The warning signs before you place a piece
Before you tap a piece into place, scan for patterns that usually point to trouble.
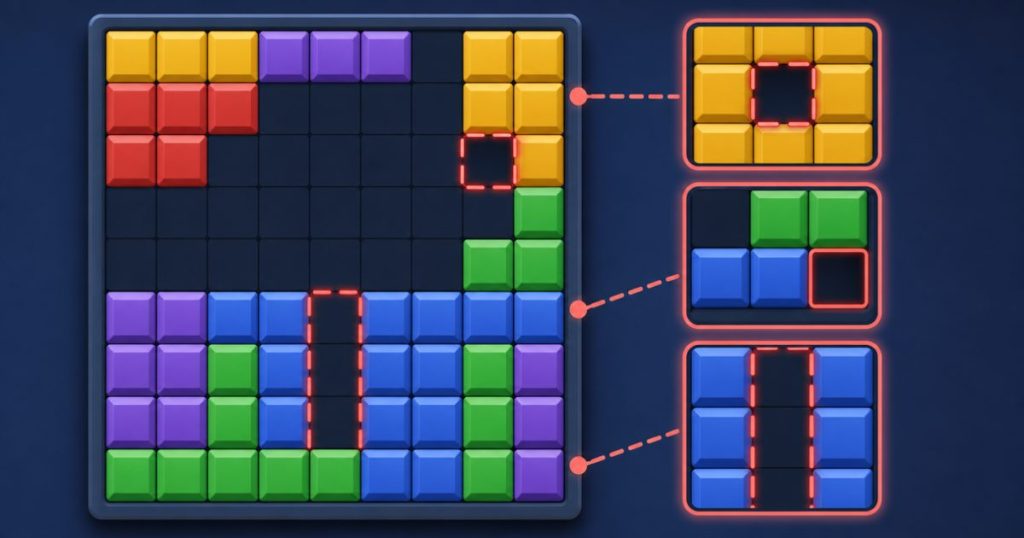
- Isolated holes: A single empty square surrounded by awkward shapes is hard to use later, especially when your next pieces are larger.
- Blocked corners: Corners can be useful, but filling them the wrong way can create dead pockets that are hard to reach cleanly.
- Broken lanes: Long open corridors are valuable because they fit many shapes. If you split one into fragments, your future options shrink fast.
- One-use spaces: If a placement only works for the current piece and leaves the rest of the board awkward, that’s usually a warning sign.
- Fewer attachment points: Good boards give you multiple ways to extend. Bad moves remove those choices.
The best placements usually preserve open edges and keep the center usable. The worst ones make the board look neat for a moment while quietly killing the spaces that matter most.
Common trap patterns that end runs early
Here are the mistakes that can collapse a board even when no single move seems disastrous at first.
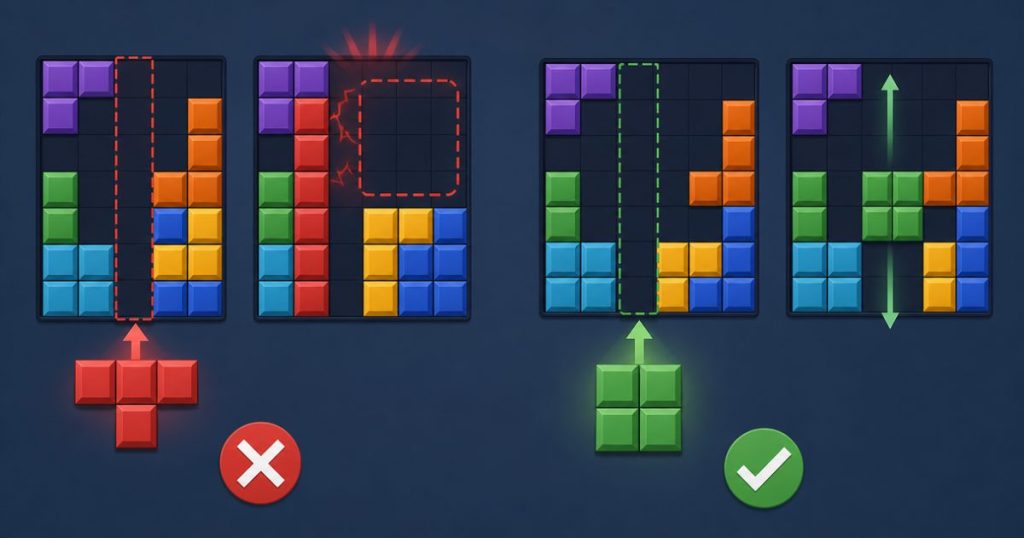
Filling the wrong side of the board. If one side still has a useful open channel and the other side is already cramped, placing on the open side can be a mistake if it blocks the last flexible area you had. Sometimes the messier side is actually safer because it preserves the clean lane.
Sealing a pocket too soon. A small pocket can be useful if the shape queue fits it, but if you close it off with no realistic way to reuse it, you’ve turned usable space into dead space. This is especially dangerous when the pocket sits near the center, where flexibility matters most.
Creating a hanging gap under a block. A shape placed too high can leave a hole below it that no future piece fits cleanly. Those gaps often start a chain reaction because they force awkward placements later.
Taking a line clear that wrecks the board shape. Clearing a line feels good, but it is not automatically the right move. If the clear breaks a wide open area into disconnected islands, it may be worse than preserving the board.
If you want a deeper look at how move order affects these choices, the piece order guide explains why the first block you place can change the whole turn.
How to compare two placements without freezing up
When two moves both look possible, don’t ask which one makes the board look cleaner right now. Ask which one leaves you with more usable space next turn.
- Check the next likely shapes. You can’t know the queue for sure, but you can still think in terms of size. Would a large square, a long bar, or an awkward L-shape still fit after this move?
- Look for preserved lanes. A move that keeps a straight corridor open is usually safer than one that chops it into small pockets.
- Compare board flexibility. Which placement gives you more attachment points, more open edges, and more ways to extend the board?
- Ask what gets trapped. If one choice strands a hole or corner that will be hard to reuse, treat that as a major warning.
A good habit is to pause for half a second before locking in a placement and mentally compare the board after each option. That tiny check is often enough to avoid the move that ends the run.
What to do when every move looks bad
Sometimes the board is already cramped and none of the placements feel great. In that situation, don’t chase the prettiest clear. Choose the move that keeps the board most open, even if it scores less right away.
That usually means preserving a lane, avoiding unnecessary single-cell holes, and not blocking the last flexible corner or edge. If one move clears a line but turns the rest of the board into a trap, skip it unless it’s the only way to survive.
When the board is near collapse, the goal shifts from scoring to survival. You are trying to keep future pieces playable. If you can’t do that, the run ends no matter how good the current clear looks.
Simple board habits that prevent the worst mistakes
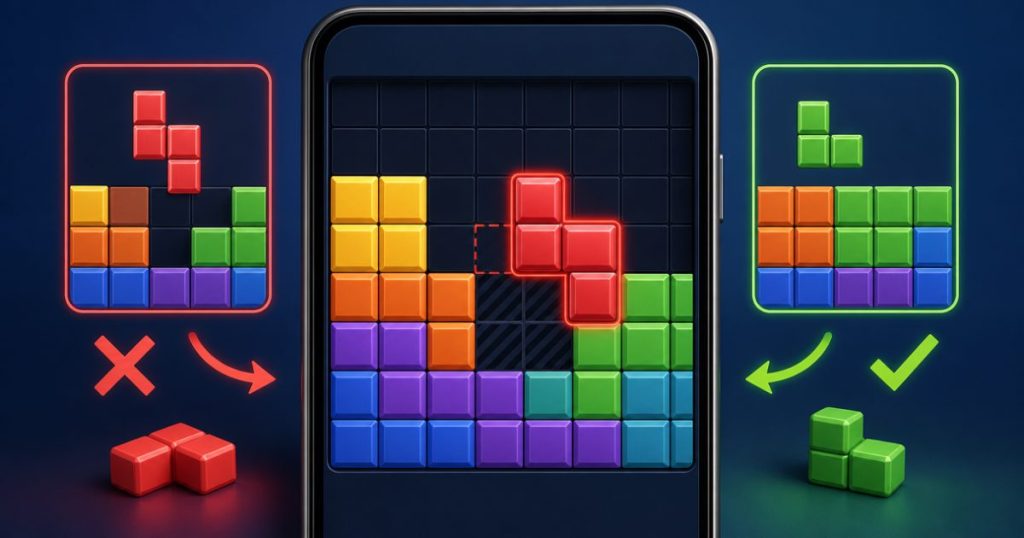
You do not need perfect planning to avoid run-killing moves. A few habits help a lot:
- Keep at least one open lane when possible.
- Use corners carefully instead of filling them just because they look tidy.
- Avoid creating holes that only one unusual piece could fix.
- Prefer placements that leave several future directions open.
- Value board shape over a single quick clear.
Those habits work because Block Blast rewards space management more than short-term cleanup. The longer your board stays flexible, the longer your run usually lasts.
Frequently Asked Questions
How do I know a move is bad before I place it?
Check whether it reduces future options. If it closes a lane, traps a pocket, or creates a hole that will be hard to fill later, it’s probably the wrong move.
Is clearing a line always worth it in Block Blast?
No. A line clear is only worth it if the board still stays flexible afterward. If the clear breaks your remaining space into awkward fragments, it can be worse than skipping it.
What board patterns usually lead to a lost run?
Isolated holes, blocked corners, broken corridors, and boards split into too many small sections are the most common signs that a run is headed toward failure.
What should I do when both placements look bad?
Choose the move that keeps the board open and playable. In a cramped board, survival matters more than getting the cleanest-looking clear.
If you want to spot the run-ending move faster, train yourself to look one step past the current placement. A move is dangerous when it removes the board’s best future options, even if it looks harmless in the moment.
Before you tap, compare the two best-looking placements and choose the one that preserves open space, lanes, and attachment points. That small pause is often the difference between a stable board and a run that falls apart on the next piece.